If you want to have soft or bright colors on your photos but failed to catch them while shooting, you may fix it having done color correction in Lightroom or Photoshop. Professional photo color correction is the process of adjusting white balance, hues, saturation, brightness, sharpness, color tints, and temperature settings.
H2 Color Correction or Color Grading?
The professional color correction and color grading are similar in the process but they differ in how and when they are used.
Color correction techniques are about making corrections to a photo to “fix” any deviations from its normal appearance (exposure, white balance, ISO noise or contrast settings). All photographers do color correction to make their photos pop not flat. Any beginning photo retoucher can do it having seen some color correction tips on YouTube and applying Lightroom or Photoshop plugins.
Color grading is a long process of altering the visual character of an entire photograph. It is used more like a brush to paint a photo with purpose, namely photo matching, removing distracting objects, shaping masks or adding cinematic looks (underwater photography or day-to-dusk effects). It is included to high end photo retouching and requires more Photoshop skills and techniques. So, if you’re an amateur in professional photo retouching but need to do color grading, outsource your photo retouching to online services like WeEdit.photos http://weedit.photos/ and get professionally edited photos fast and for the affordable price. If you wish to enhance the shots and show some special feeling or emotions to the people, you need to make some creative actions. It is exactly the process of color grading.
Please Note: You should remember that you need to have the proper exposure for your photographs because it is impossible to fix everything with color correction.
5 Color Correction Tips
The colors of your photographs matter if you want to make your images realistic and bright. That’s why everybody applies color correction techniques to their outcomes. If you are doing color correction for the first time, you have many different ways to do it: use online free photo editors like GIMP or Fotor, use Adobe softwares or outsource your photo editing.
A professional way of making color correction is definitely Adobe products. Lightroom or Photoshop – is for you to decide, they are almost the same for color correction purposes. Adobe Lightroom may not be as all-inclusive and powerful as Photoshop CC, but it is good. It will give you all color effects you can imagine, if you know to to use it. Here are 5 basic color correction tips to edit landscape pictures fast and making them pop and fresh in several clicks.
1. Think about Color Correction Before You Take Photos
Always make sure that your camera is configured correctly. It is recommended to use the “flat” color profile because it gives more opportunities to work with the color. Save photos in the raw format to get the best photo quality. Calibrate your monitor before starting work. Do photo color correction in the daytime when our eyes are most energized and able to discern color differences.
2. Adjust Shadows & Highlights
The Shadow/Highlight settings are one method for correcting images with strong backlighting or correcting subjects that have been slightly blurred because they were too close to the camera flash. You may use these settings to brighten areas of shadow in an otherwise well‑lit photo.

The Shadow/Highlight command also has a Midtone Contrast, Black Clip, and White Clip options for fixing the overall contrast of the photo, and a Color Correction slider for adjusting saturation. Also, you should not forget about the color balance. It is possible to use different masks, creating the windows to isolate some parts of the image and correct them as you need. Use the Midtones settings to get the needed balance between the dark and white shapes.
3. Correct Saturation
Do not overdo with Saturation because the image will be very artificial. Saturation may work for almost any color, just check that you do not over-saturate or under-saturate the photo. You have to be mindful of how you set the RGB channel.
4. Use Proper Photo Color Correction Tools

If you decided to make color correction in Lightroom – use the Lightroom Basic Panel or Split Toning tools where you can correct the white balance, exposure, temperature, whites and blacks, tints, exposure, contrast, shadows, highlights, of your images.
5. Use Photoshop Actions or Lightroom Presets
Also, as bonus advice, you can use the free Photoshop actions http://fixthephoto.com/free-photoshop-actions, which can automatically make the color correction. It will save a lot of your time and you will be satisfied with the result.
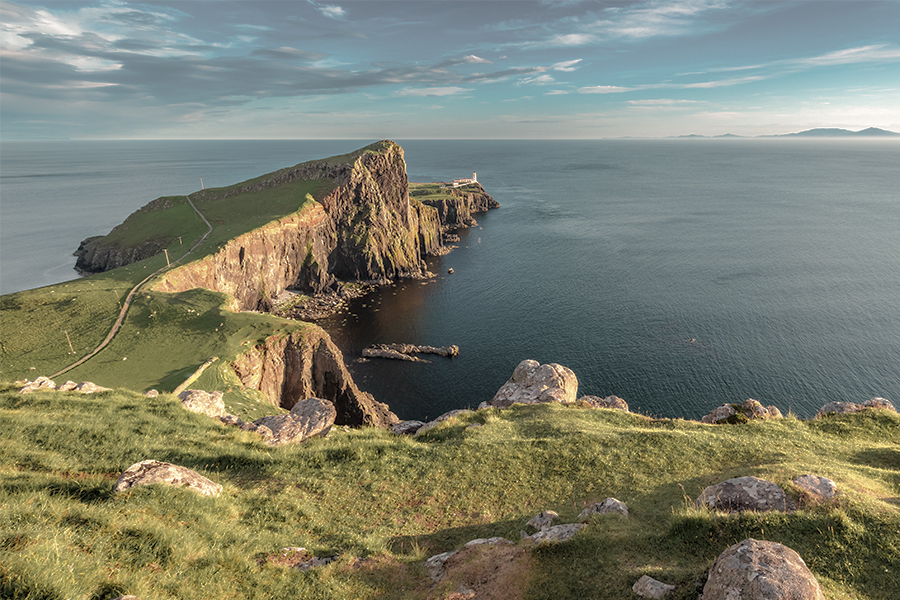
This kind of Photoshop actions can help you create a natural or warm effect that is seen in the fall.
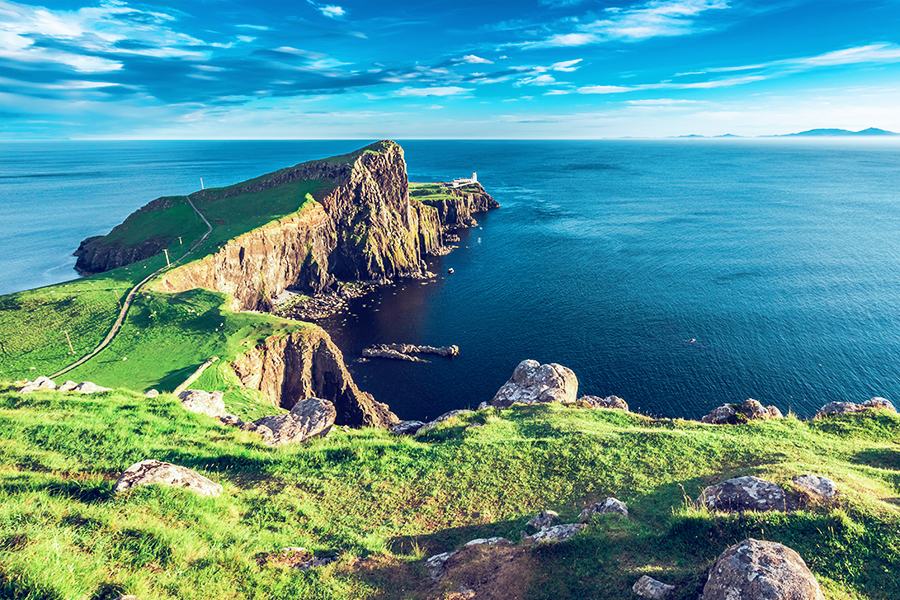
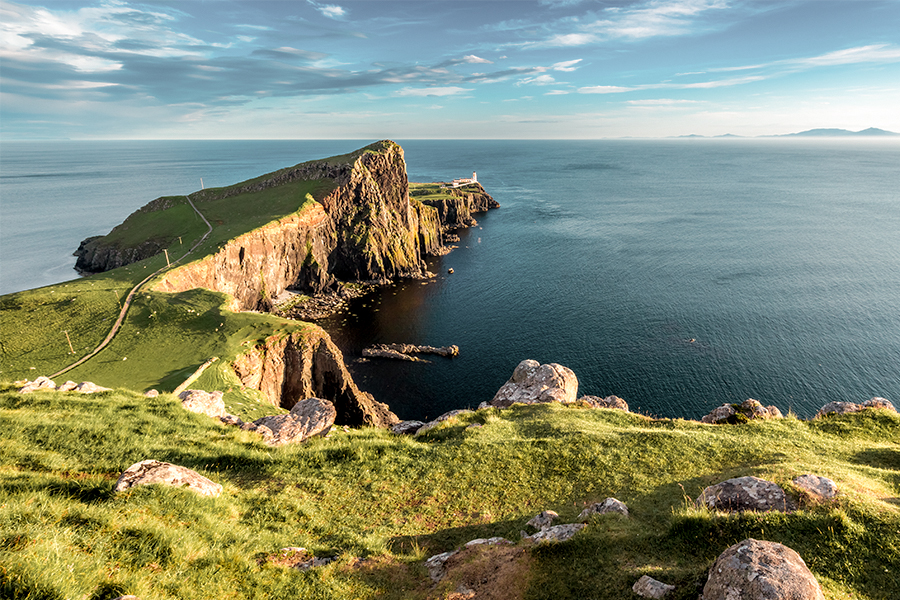
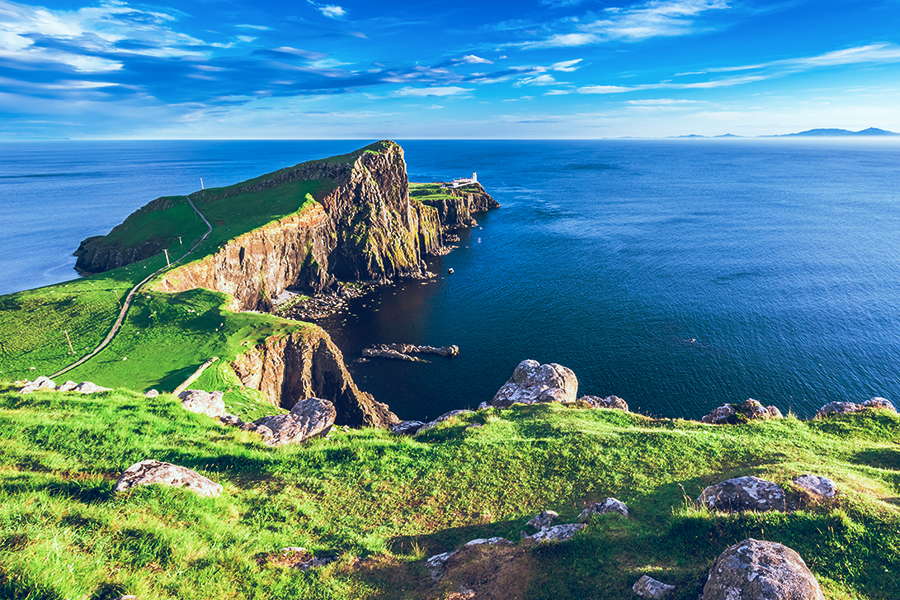
This universal Photoshop action will make any photo pop and full of bright colors in several clicks.
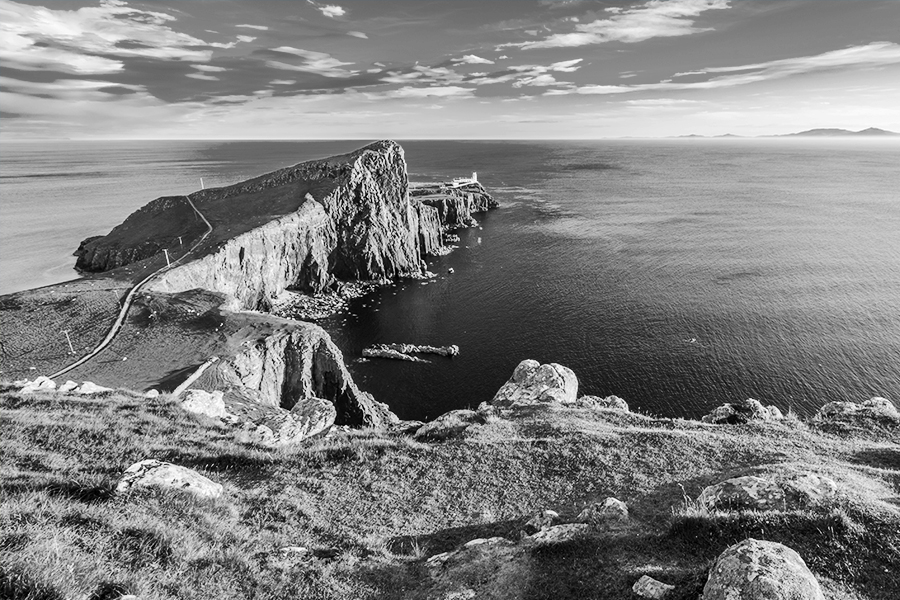
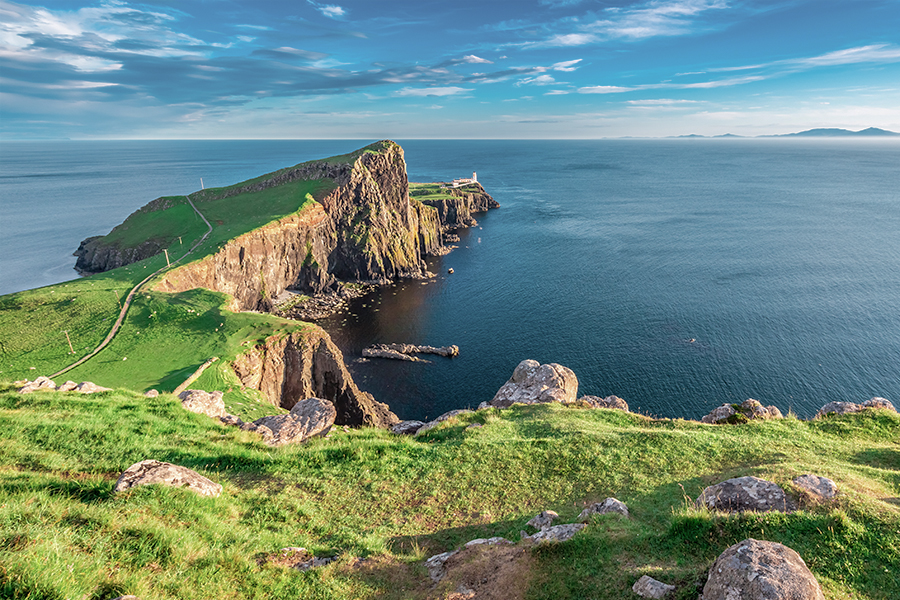
A monochrome effect makes your photos dramatic. Ideally, a black and white image should have both a true white and a true black somewhere in the photo not only shades of grey.
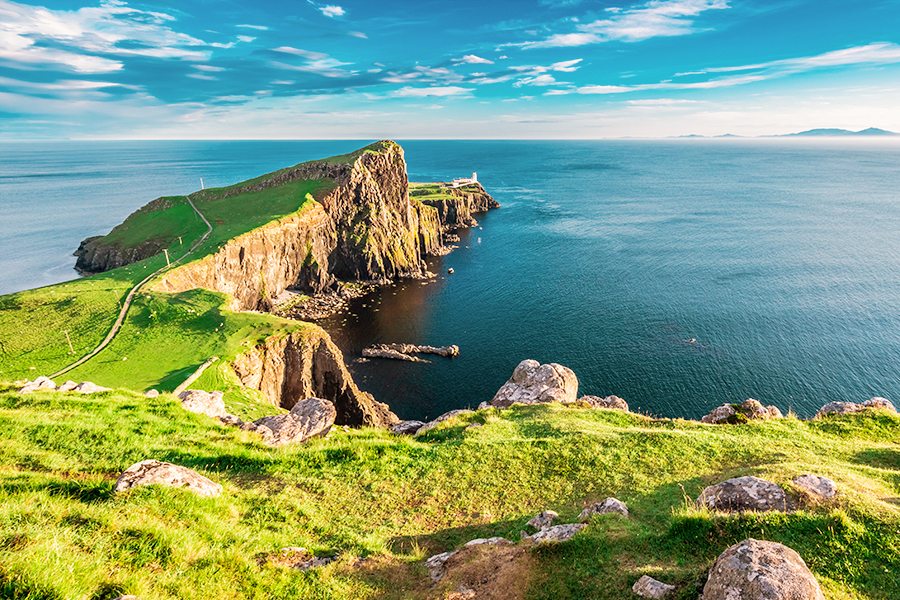
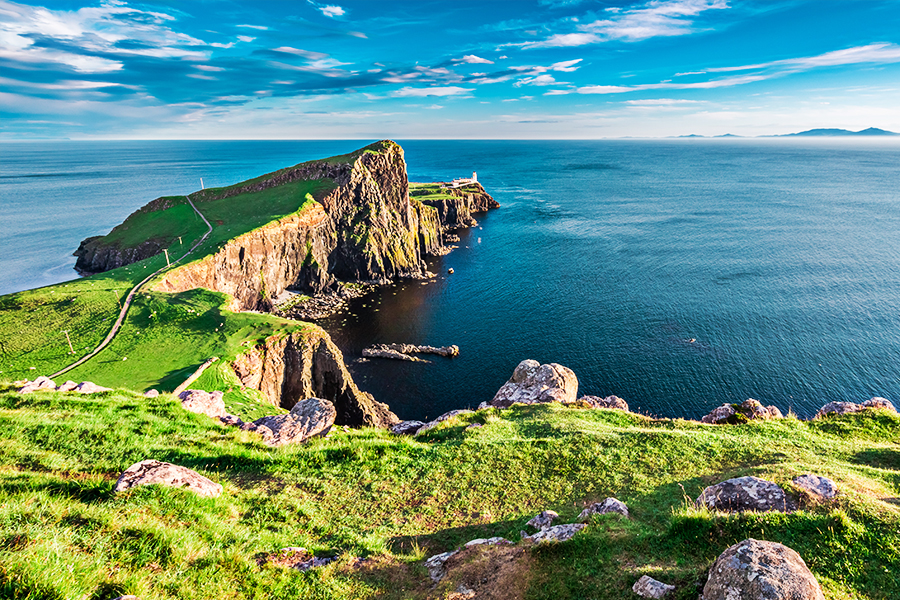
If you are looking for a cinematic effect on your landscape photos, you’d better download this Photoshop action. Please note, that you need to choose a destination that lets you edit a shallow depth of field.
If you want to have professionally edited photos, color correction in Lightroom or Photoshop has to become a regular part of your photo editing workflow, so just keep practicing. Highly recommended to experiment with old images before you turn to new shots. Play with color settings by using the tools available. Save all your images and examine them to find out which ones look as you want and find your unique style of making color correction.


 6 Must-Follow SEO Tips For Every WordPress Photoblogger
  Freebie: Diwali – Creative Kit
  Top 16 Free WooCommerce Themes
  Top 25 Free WordPress themes from 2020
  ZeroSSL Review – SSL Protection for All