Wire-framing of a website implies the visualized form of what the designer intends to do. It also acts as a separating platform between the graphic components of the site and the functional ones, so that the way in which the user will interact with the site is laid bare and open to improvisation. Its elements may be said to be:
- Vital elements in the layout, namely content-objects, header and the footer, components referring to the brand
- Lining up of the page components, such as side and the navigation bars; even the areas bearing the content or the text
- Title of the page, labeling of the elements, links to navigation around the site
- Place-holders and the text and images that you wish to incorporate
Since the wire-frame is basically a mock-up tool that will help the designer envision what it is that she / he is trying to achieve, it would lend to the cause if there is some real-time feedback on the tentative layout as well. The technical jargon amidst the designer community involves a synonymous use of the three words: simulating, wire-framing and prototyping. However, it is not the same:
- Wire-framing is essentially a representation of what the site would be, bearing the elements listed above. It, basically, acts as the back-bone of the design.
- Prototype, on the other hand, is that representation of the elements such that it acts as a simulator to UI.
- Simulator is a very highly-interactive UI and is not conventionally paired with the design features.
Below is a quick look at the tips that that can be employed to your advantage when you are wire-framing your design
- Sketch your way away: even if it is a mere scrawly note at the back of piece of paper. The sketch will be a visualization of your idea on paper and believe it or not, will go a long way in saving you your time and money. Show it around to your peers or experts.
- Sharing of the files: the ideal way, according to experts, is to have them exported in PNG format and then go on to embed them inside HTML-based files. This is a better way of sharing them around, rather than emailing them as attachments.
- Involving the tech-team: this goes on to state the very obvious fact that the tentative design is not just meant for the client. The entire team, even if not involved in the designing, should be roped in and asked for opinions.
- Hierarchal organization of information: when you arrange the bits of information around in a sort of hierarchy, as per their importance and prioritize them, you will zero in on the focal point that will become the goal around which the wireframe will revolve.
- Do not be stingy when it comes to adding footnotes: since the basic purpose of wire-framing is to communicate what you had envisioned, attaching notes, wherever needed will be helpful. These notes may be in the form of author notes, or interaction-notes or even page-titles.
There are different connotations to wire-framing. There are some experts who are of the opinion that the sketch be as austere and skimpy as possible; that it is meant to convey only where the boxes are to placed, how many placeholders should be put in: that is only the functional elements.
Tools required for wire-framing your design idea
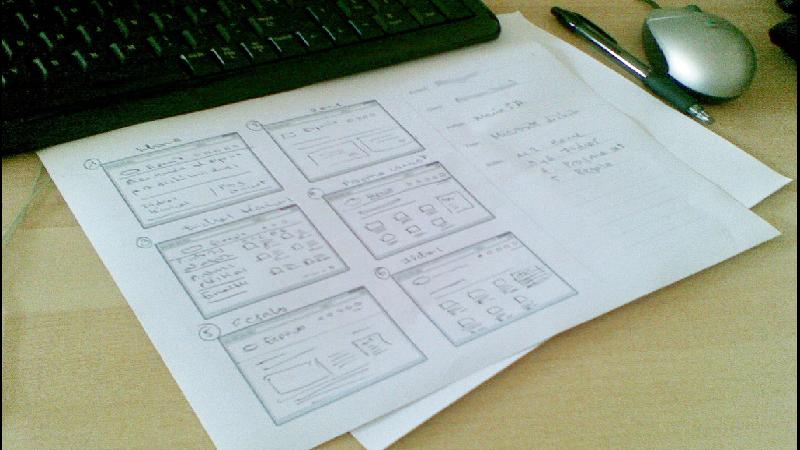
If you were to ask, the more preferred tools employed for wire-framing are the humble paper and pen. Logically, too, it is the best for it allows you to change the design and tweak the elements around much more easily, than if you were doing it using software:
Web-based tools for wire-framing:
Browser-based tools enable long-distance sharing too.
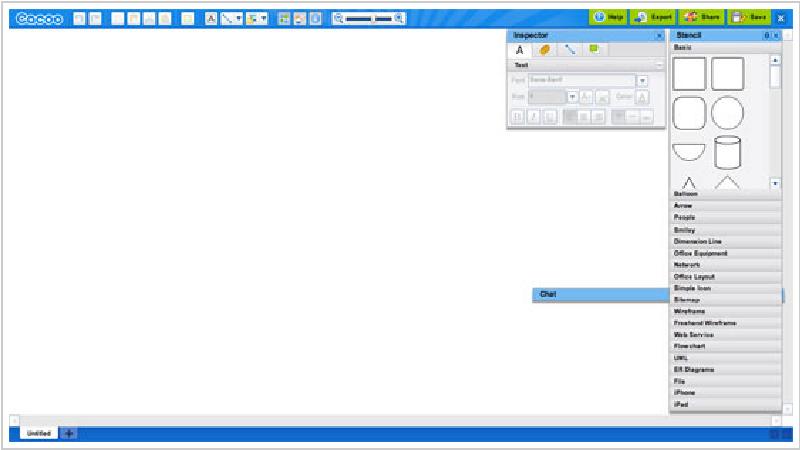
- Cacoo: is a tool that is free of cost (!) and employs drop-and-drag that acts as a catalyst in the wire-framing. There are even public sharing options available through which you would also be able to share the tentative design around with anyone who has access to the URL. However, the right to edit and amend is restricted. This is done by way of letting the editing be done only through the SSL-connection.
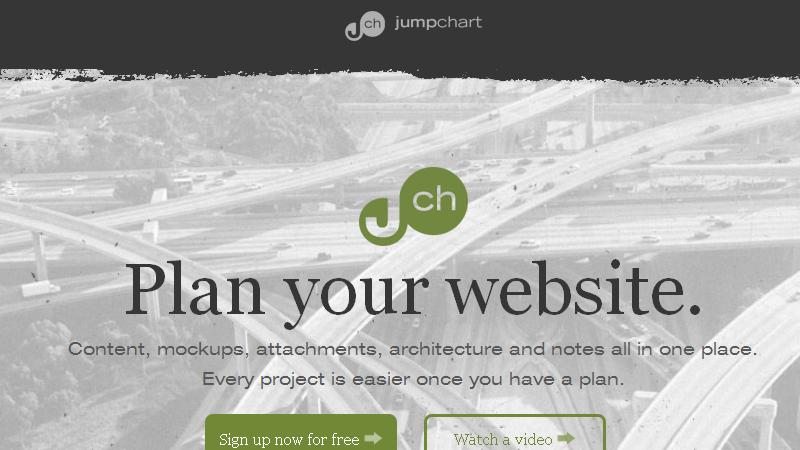
- Jumpchart: a versatile tool that is ideal for both wire-framing as well as prototyping. There are two versions: the free one does everything for you, except allow exporting the completed prototype to WordPress (this you can only do if you are ready to shell out a little money)! Meanwhile, the free version allows for a unique feature: providing for two collaborators and projects.
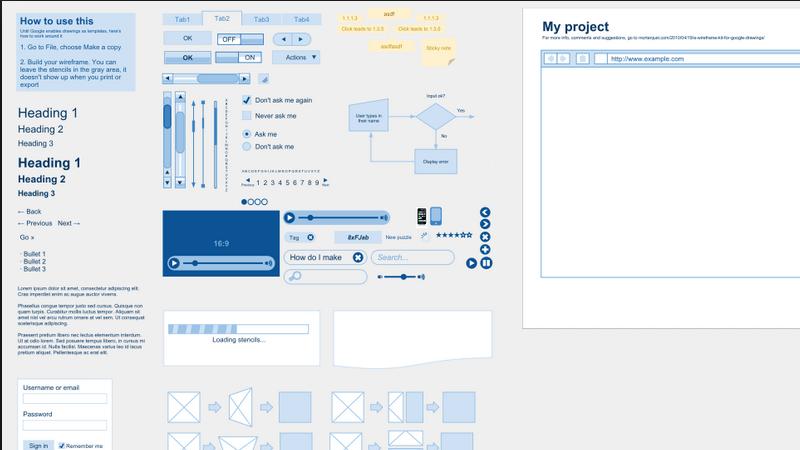
- Google-Drawings: part of the GoogleDocs s/w, the app is available for use and is absolutely free of cost. Apart from the features of a typical drawing tool, it also bears some additional ones, such as pre-designed templates for wire-framing. Other additional tools also include the one that allows you to share your work around publicly and work in collaboration with other designers.
Paper and pen:
Your very own paper and pencil (because it will be easier to change / edit), can act as the best tools that can possible be available. But, instead of using a plain sheet of paper, it would be better if you used a graph-paper. Use sticky-notes as footnotes.
Hybrid apps:
These are the next generation apps that will offer the users access to both the worlds, namely online and offline. Usually, other apps provide for sharing of the wire-frames as mere flat-images that hamper editing as a team.
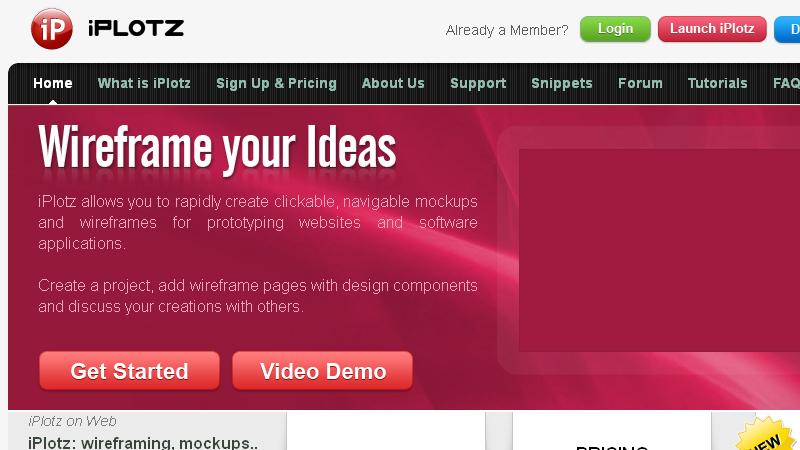
- iPlotz: Armed with a desk-top client that can also be downloaded, this is an app that will make your work much easier. This is because there are both project-management as well as collaboration features in the app. The online version has both free as well as paid variations but the offline one is available at a nominal cost.
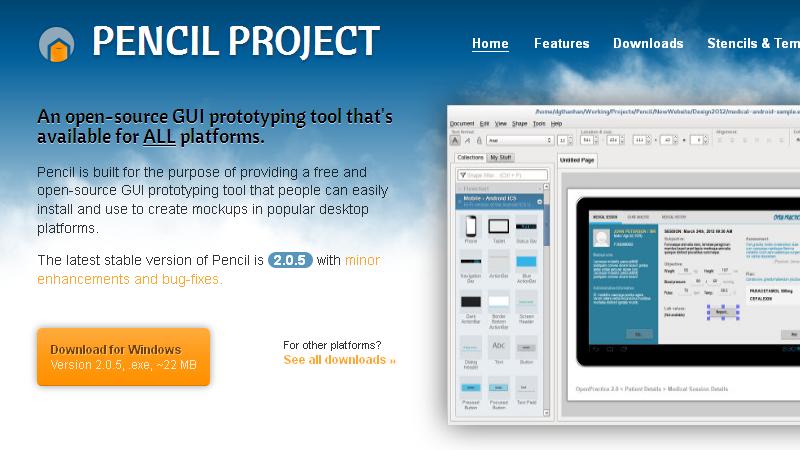
- Pencil: essentially a plug-in of Firefox, this is used for both prototyping as well wire-framing. The in-built features available include a exporting to PNG and HTML formats, text-editor, stencils and many other accessories. It is also independent of dependence on operating systems, because of its virtue of being a plug-in of Firefox.
Wire-frame templates:
Options available in the market include:
- 6pages Template: facilitating hand-drawn wire-frames, there are stencils with over six browser-windows (hence the name) and ample space, for as and when you wish to add notes. Furthermore, this stencil is printable.
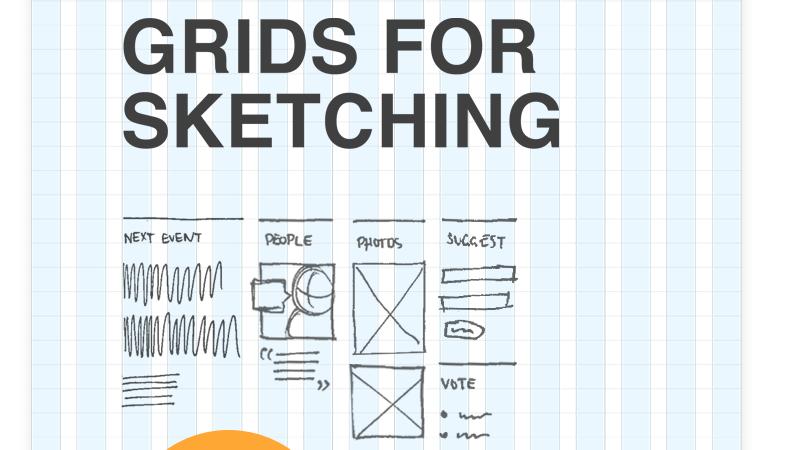
- Sketching Grids: designer Ben Martineau has created this grid for wire-frames that bear 3, 4, 5, 10, 12 and 16 column structures of grid.
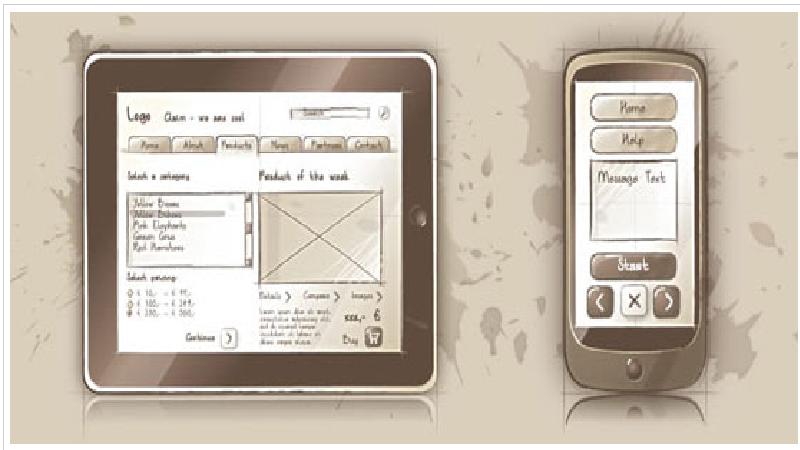
- Sqetch: The tool comes armed with a number of templates, such as GUI, form and iPad elements.
Techniques commonly used for wire-framing
- HTML-based wire-framing: wire-framing in CSS and HTML can prove to be a time-saver and this is a fact that is increasingly be realized by designers. It also supports the idea that design should ideally follow content. It also comes in handy because there are times when rendering of text within an image can be a miss.
- Quick-and-Dirty: as the name suggests, this will allow for the broader framework of design to be set in place pretty early on, in the process. It would help if you were to focus on three crucial points here:
- Question whether the bigger idea, is in fact, useful?
- How does it help deliver on the value front?
- How and would it be seamlessly incorporated into the larger scheme of things.
Just like, every great piece of art begins with a rough sketch, so should every successful website begin with a wireframe.




 [Review] Kinsta – Is It the Ultimate WordPress Host in the Market?
  Ultimate Overview of Monstroid WordPress Theme Subtopics (Updating)
  [Freebie + Giveaway] Get Your Wireframing to the Next Level With Humble UX (Download UI Elements for Apple Watch and More)
Ambrose Little Mar 18, 2014, 2:59 pm
The ultimate tool for wireframing and prototyping is Indigo Studio. ;)
Some nice things about it related to wireframing:
– you can start with simple static wireframing but easily add interactions to make an interactive and (if you want) animated prototype
– it is super easy to share your designs; there is a built-in/included free hosting service for shared designs
– tons of built-in interactive widgets
– it is made by interaction designers for interaction designers
Geke_Sulen Mar 21, 2014, 12:58 pm
You forgot another pretty awesome wireframe program.
Balsamiq.
Also very easy to use and pre instal iphone objects.
http://balsamiq.com/
Sean Apr 3, 2014, 2:36 pm
I don’t waste my time figuring this out on a computer. I go back to a sketch pad and pencil idea. I never present wire frames to clients. That is like a car company presenting their blue print to their buyer before they build their cars.
Jeremy Walkre Apr 11, 2014, 8:30 pm
I have to disagree with you Sean. Not all projects can afford the time (and honestly it’s not exactly logically sane) to present a “finished” product with Look & Feel predefined etc. Moving with sketches/wireframes is professionally a much higher standard of collaborating with the client to 1: keep cost down; 2: expedite iterations to reach higher conclusions quicker; 3: this all keeps cost down. 4: if you’re worried about what it looks like when you present the concept, you will never land the concept that is achievable and frankly will never achieve