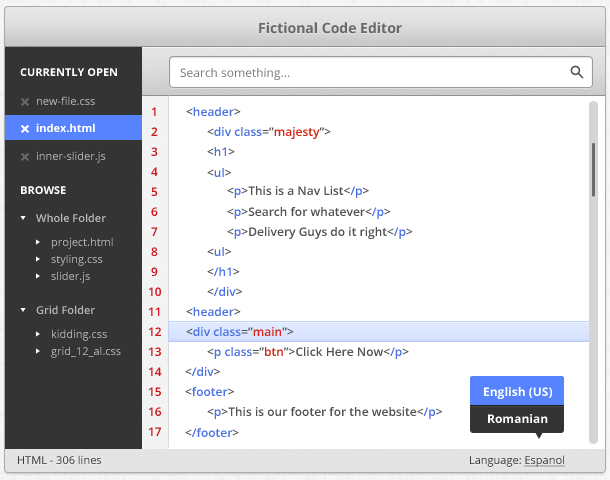
In this tutorial we’ll be using Adobe Photoshop to design a sleek code editor widget that is a generic example of many code editors available.
In this tutorial, we will cover quite a few techniques, including working with shapes that can easily be applied and used in your next web/UI design project. Our main color palette for the code editor will consist of a few shades of gray, blue and red.
Step 1
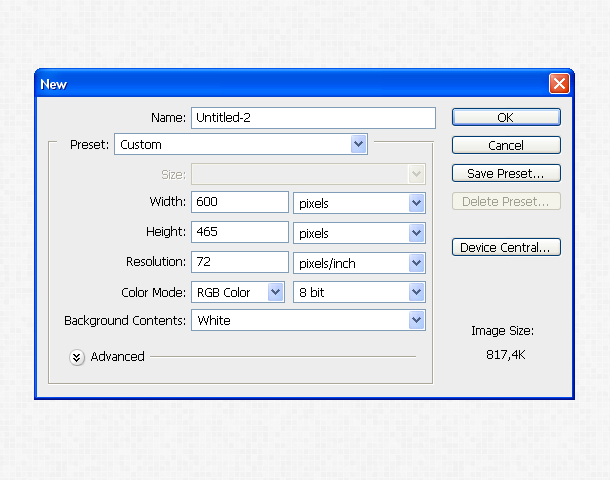
Create a new document – 600 pixels wide by 465 pixels high. This is our base shape for the Code Editor. Create the shape by using the Rounded Rectangle Tool (U) with the radius set to 3 pixels.
Step 2
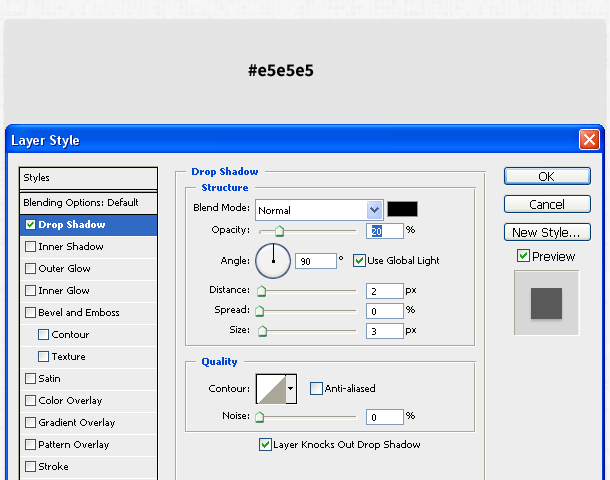
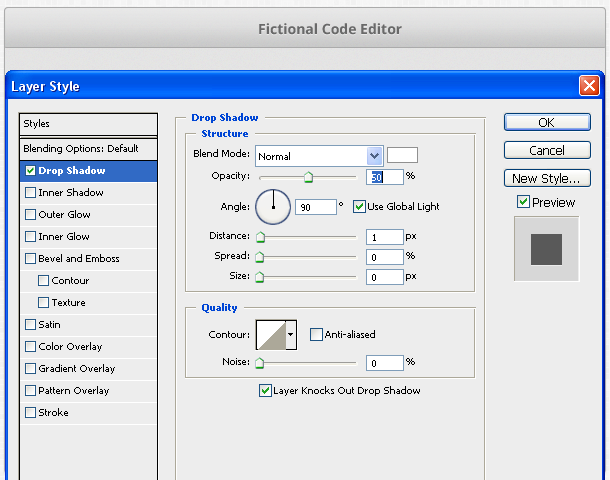
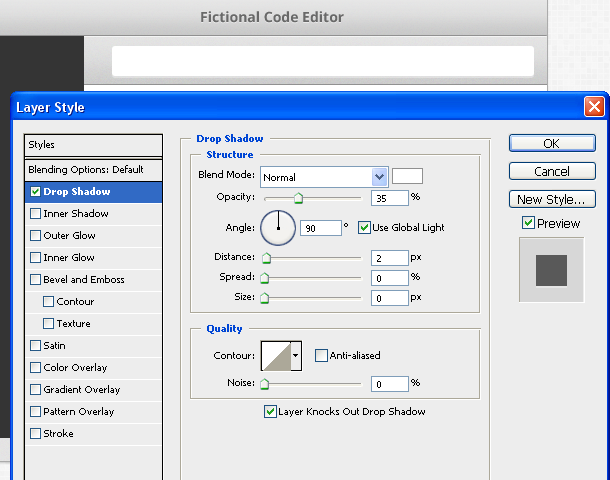
Give the shape a base color of #e5e5e5 and apply a drop shadow with 20 percent opacity, distance of 2 pixels and size of 3 pixels.
Step 3
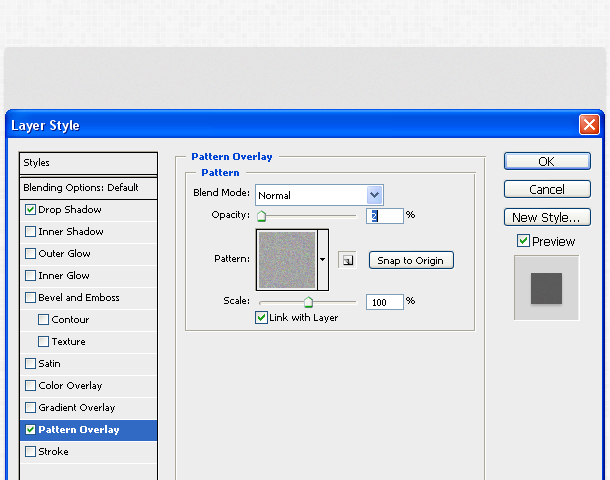
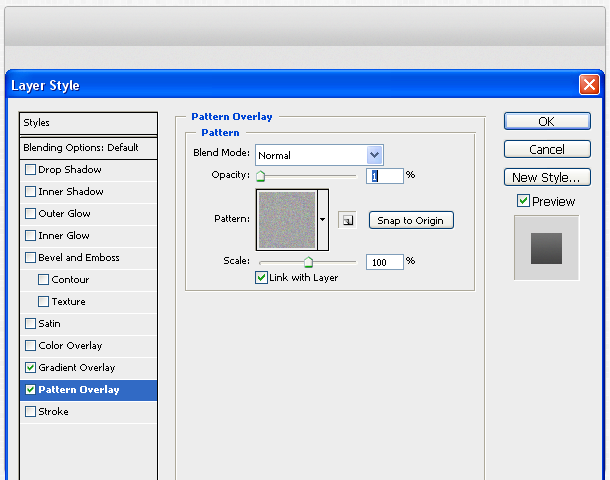
We will apply a light noise effect as well. There are various ways of doing it, but the one I prefer is applying noise as a pattern layer. Create a new shape and apply a noise effect to it by clicking Filter->Noise->Add Noise.
Step 4
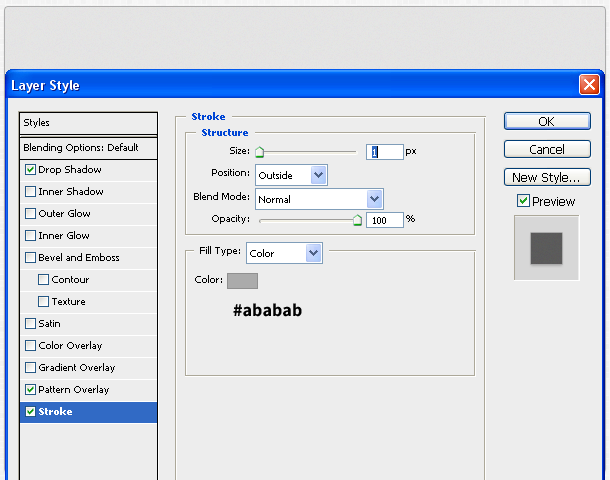
Apply a dark stroke to the shape, and make it gray (#ababab).
Step 5
Create a new shape by using the Rounded Rectangle Tool that is 40 pixels high and place it at the top of the base-shape. The Rounded Rectangle Tool makes all the corners of your shape rounded, but we only need our top corners to be rounded. To achieve that, we will use the Path Selection Tool (A) and remove the rounded effect from bottom corners.
Step 6
Apply the same noise-pattern effect using 1 percent opacity.
Step 7
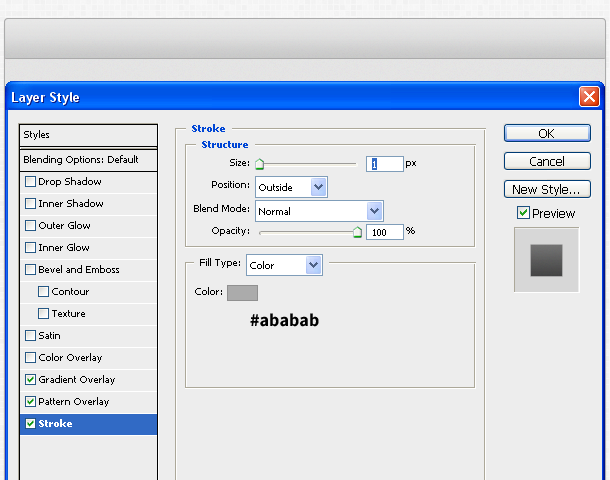
Finish by applying a 1 pixel stroke and a gray color (#ababab). Later, we will add other styling.
Step 8
Use the Source Sans Pro font – available free from Google Fonts — type a name for your code editor and apply base styling. Give it a dark gray color and apply a simple white drop shadow of 1 pixel in distance and 50 percent opacity.
Step 9
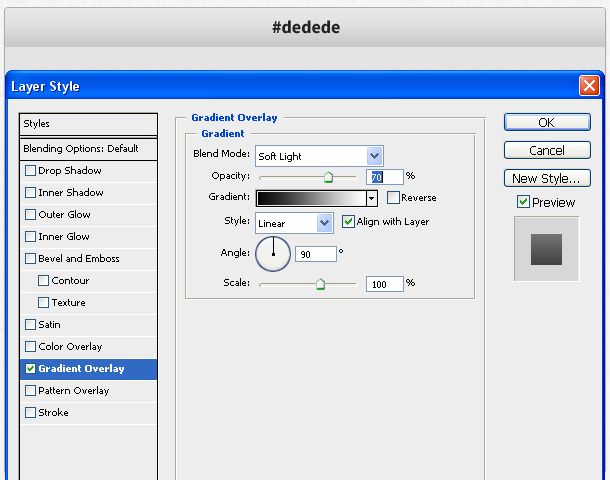
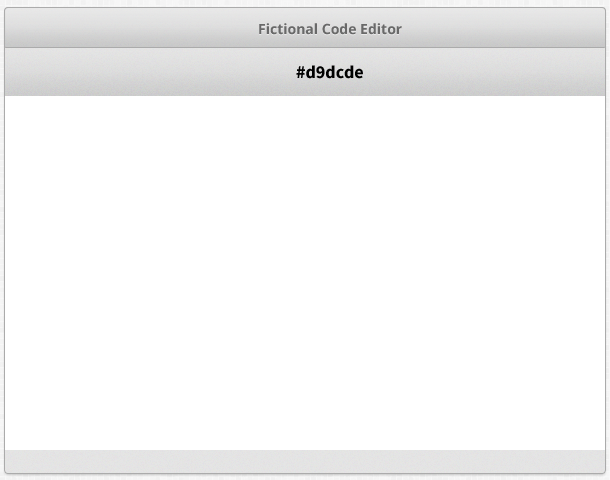
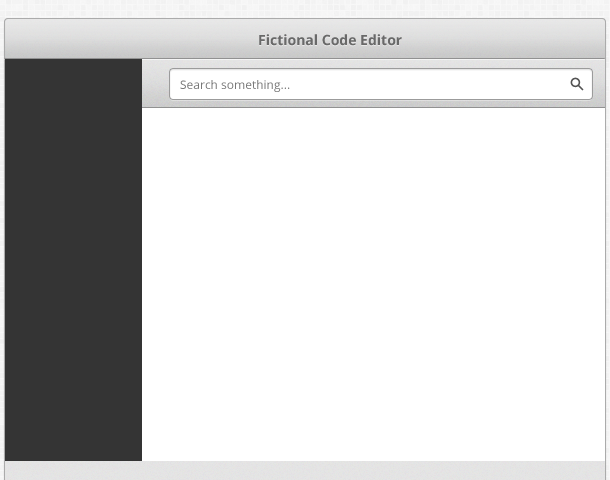
Create one more similar shape, changing the stroke and base color to #d9dcde. The height of the new shape should be slightly taller than the previous one, by 20 pixels. Using the Rounded Rectangle Tool (U), create a new shape that is 365 pixels high, and color it white. This will be the base for our “settings” and the code itself.
Step 10
As mentioned in a previous step, we will add another line that will divide those two lines. It is a simple dark gray line with a drop shadow as seen in the image above.
Step 11
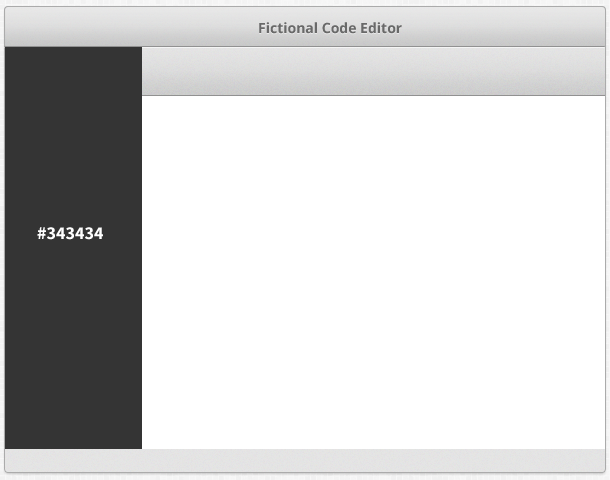
As you can see, there are two new elements. First, is a dark shape (140 pixels wide) placed at the left side of the widget which is the base for our “settings.” Also, create a gray line with the Line Tool (U) and place in under the second gray widget.
Step 12
The second light-gray shape at the top will be used to hold a search form. Using the Rounded Rectangle Tool (U), create a shape that is 420 pixels high and 30 pixels wide as the base for our layout. Give it a white drop shadow which will look almost invisible until after we apply all the necessary styling.
Step 13
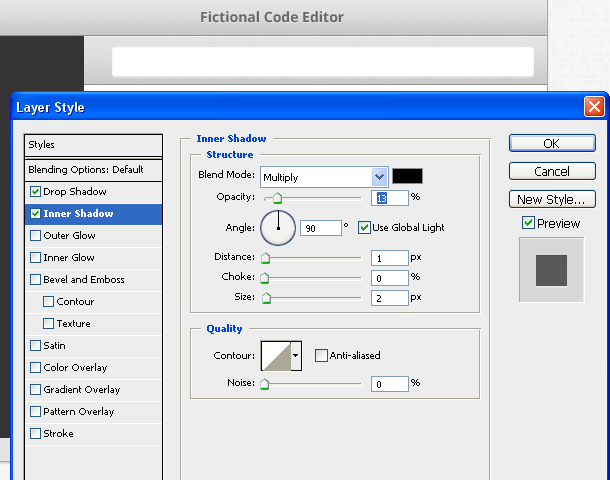
Apply an inner shadow with 13 percent opacity. Again, the effect can’t be seen well right but will after we add a stroke to the shape.
Step 14
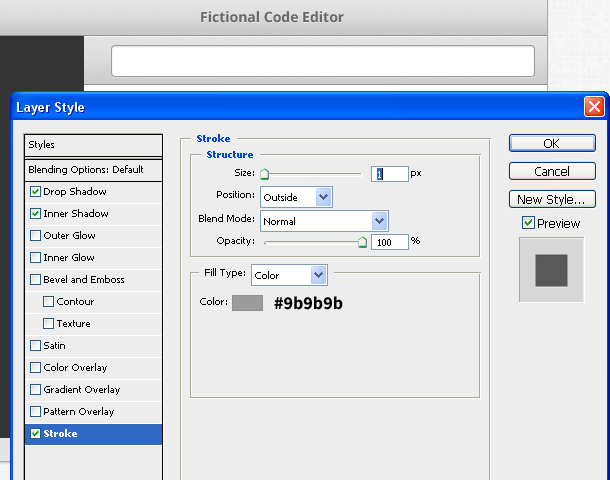
Finish the form by adding a 1 pixel stroke of this gray color (#9b9b9b).
Step 15
Use the same font in a regular weight (size: 13 points), and type in a description for the search form. Use a search icon and place it at the lower right portion of the form.
Step 16
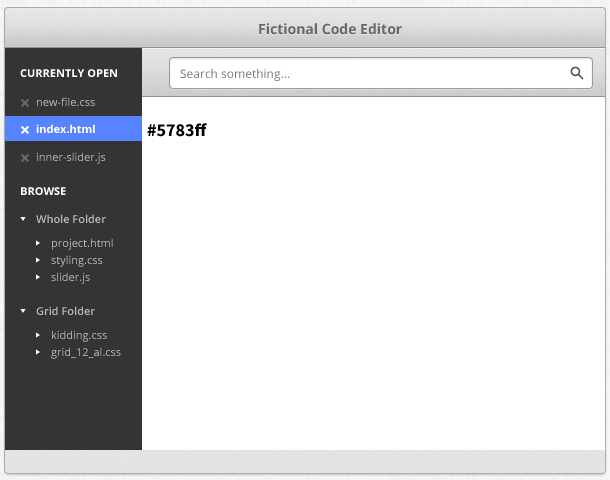
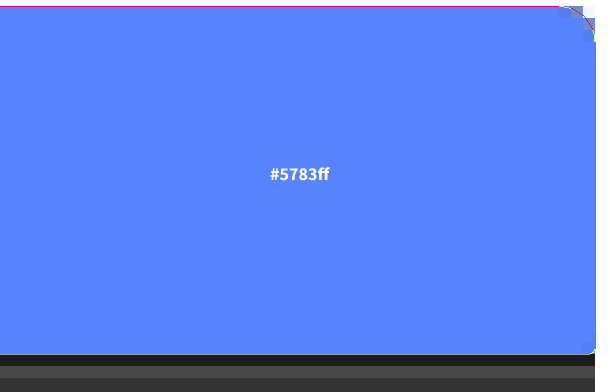
You might have noticed text in the “services” section. Using the same font, we will try to structure all that into groups. The triangles for those imaginary drop-downs were created by using the Polygon Tool (U) with three sides. The crosses are icons from a set created by Visual Idiot or Unicons. The color I used for “inactive” elements is the same gray we used for the headline. For the “active” file we used the plain white color and the blue hover color is #5783ff. (I used the Rectangle Tool (U) to create that shape).
Step 17
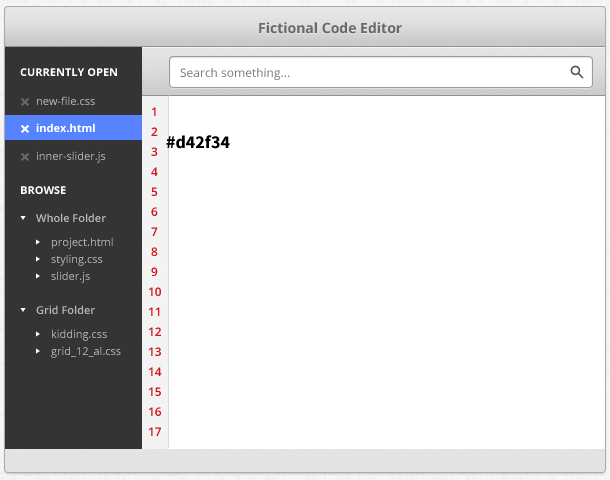
If you are familiar with code editors, you know that each line has its own number, so that you can easily find a specific line or know how many lines of code you’ve written. Leave a space of 20 pixels wide for numbers; those numbers will be given a light-red color (#d42f34) and a noise pattern will be applied for the background (refer to previous steps).
Step 18
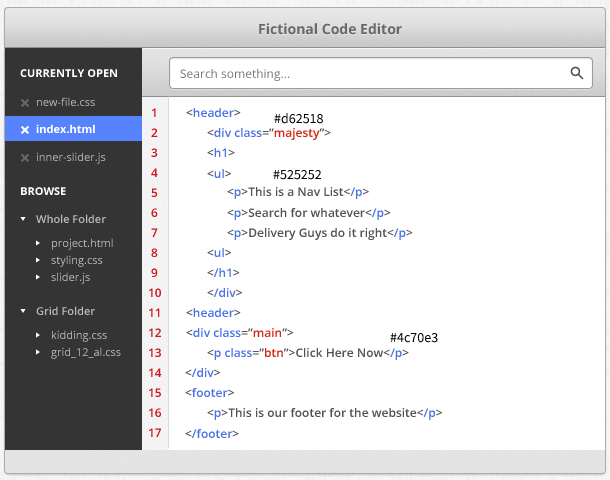
As you can see, a lot of code appeared. We have written it by using the same font with a “regular” weight and size of 12 points. Note that different elements have different colors. The base color is dark gray (#525252) which will be applied to any text and opening/closing tag digits “</>”. Classes and html tags will be blue (#4c70e3) and class names will have a pinkish-red color (#d62518).
Step 19
We will also add a scroll bar to the right of the widget. Use the Rounded Rectangle Tool (U) to set the radius to 10 pixels and give it a width of 8 pixels and height of 370 pixels. The color for the base is light grey (#5d5d5). The scroll is 15 pixels high and 4 pixels wide. Give it a dark grey color (#6a6a6a) and white drop shadow.
Step 20
We will also add a “highlighter” for one of our code lines. We will do that by creating a new Rectangular Shape (U) of 13 pixels high in light blue (#dbe6ff). Apply a white inner shadow with an opacity of 40 percent.
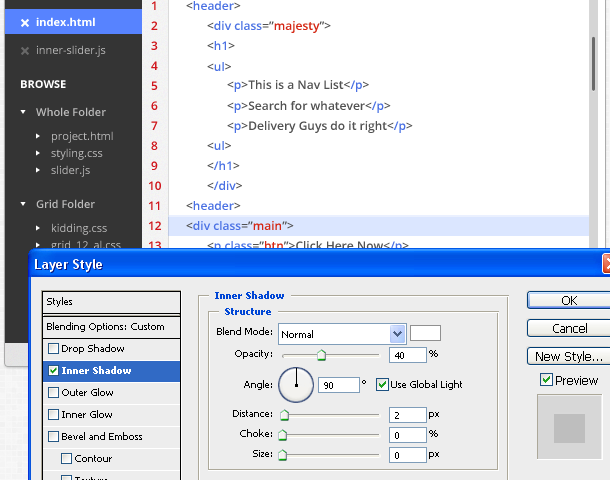
Step 21
Apply a bevel and emboss effect to the shape as well, creating a dark shadow at the bottom of the bar. Set the opacity for black to 4 percent, for white to 0 percent and the size to 3 pixels.

Step 22
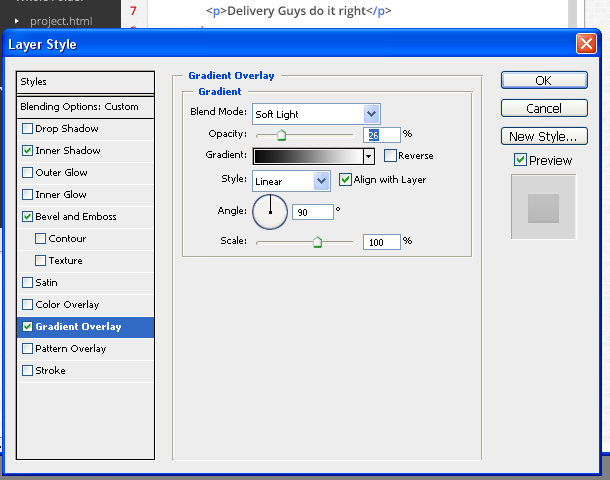
Apply a soft light gradient overlay effect with the opacity set to 26 percent.
Step 23
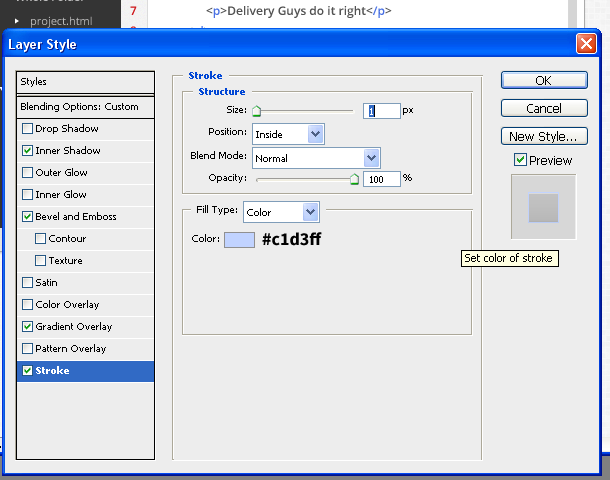
Finish the hover bar by applying a 1 pixel stroke in a darker blue than the base color.
Step 24
The widget looks pretty good so far but there’s one more thing I’d like to add. Some code editors offer support for more than one language; we’ll try to imitate that as well. Use the Text Tool (T) and Open Sans font (11 points), type in file type (HTML) and number of code lines found near the left bottom corner. We’ll also type in the language the code editor uses near the bottom right corner.
Step 25
Use the Rounded Rectangle Tool (U) to create a shape of 80 by 50 pixels with a dark color (#343434). With the Polygon Tool (U), set the number of sides to three, and by holding SHIFT and selecting the layer we’ve created one more triangle which will yield only one shape file, not two (one for the rounded rectangle and one for the triangle).

Step 26
Since our code editor will support two languages, we will divide the shape into two parts. For that reason we will create a dark dividing line (#1c1c1c) and apply a white drop shadow to it (something we’ve done in previous steps).

Step 27
Using the Rounded Rectangle Tool (U), hover the entire “top part” above the dividing line we just created. Get rid of the rounded effect along the bottom corners using the Path Selection Tool (P).
Final
I hope you’ve succeeded with your code editor design. If you have questions or suggestions, let us know in the comments.
Download PSD
[to_tweet id=”515″]
 [/to_tweet]


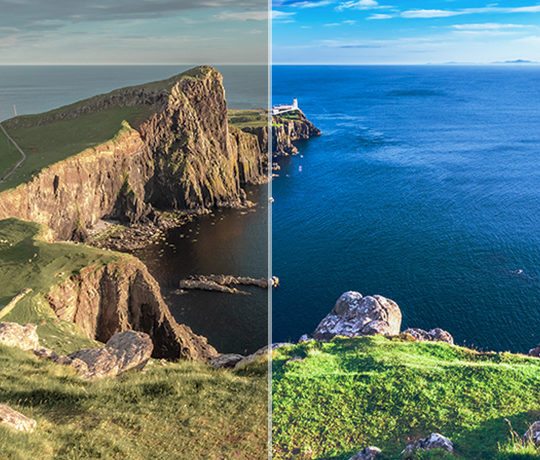 Photo Color Correction Tips + Free Photoshop Actions
  [Review] Greedeals – Is It Your Ultimate Source of Design-Related Assets at a Discount?
  TheHungryJPEG – A Surprisingly Huge Marketplace for Designers
  [Review + Giveaway] Sympli – Design Handoff for iOS, Android, and Web Made Simple
  [Review + Giveaway] 5 Developer Licenses of “Material Kit Pro” ($599 Value Each)
Ricky Orlando Napitupulu Aug 21, 2013, 7:32 am
:D
I thought we can code in Photoshop
but this is just the image design of the code editor
btw nice share :)
Strongground Aug 22, 2013, 9:23 am
Coding with this font would make me crazy. Change it to a font with fixed width (Courier New or somethin’) and it will look much more real in an instant.
Strongground Aug 22, 2013, 9:23 am
Oh, I forgot to add: It’s nicely done and a cool thing apart from the code font. ; )